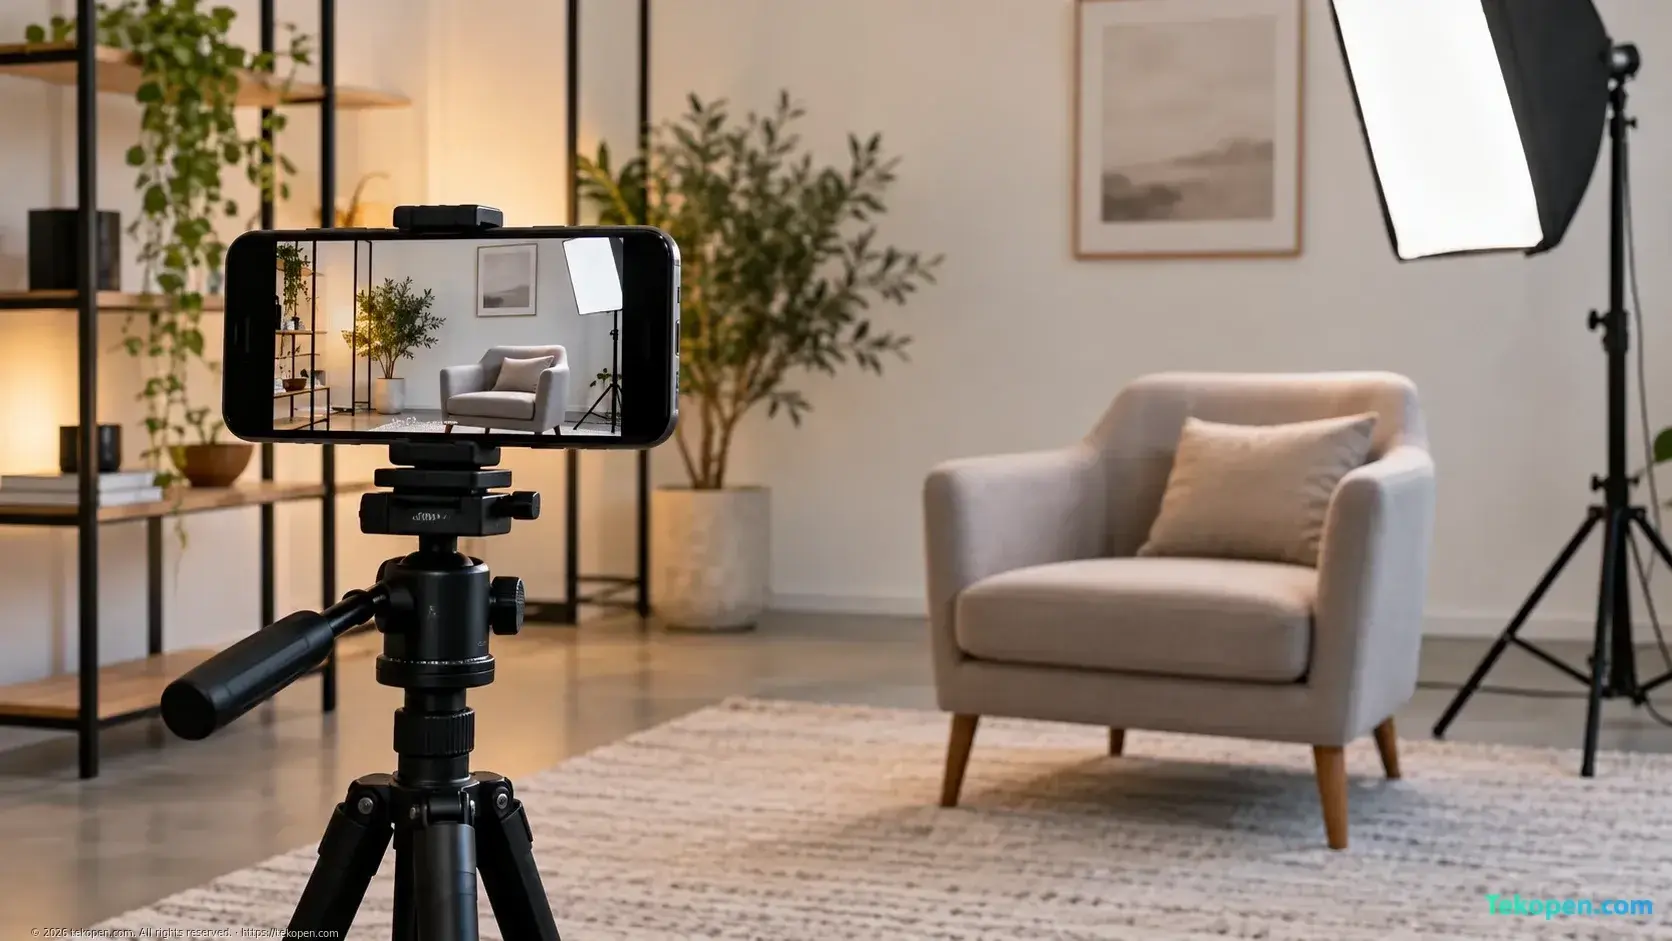
The preview screen helps you assess composition, but it does not always reflect exposure accurately. When shooting interviews, products or social media content on iPhone, false color, histograms and RGB Parade can help you spot problems before bringing the video into editing.
In the Final Cut Camera 2.4 update announced by Apple, the app includes a false color overlay and clipping indicators; with iOS 27, Apple adds RGB Parade and a histogram. Rather than enabling every tool at once, you should understand the question each one answers.
How do false color, histograms and RGB Parade differ?
False color shows the brightness level of each area in the image. A histogram shows how brightness levels are distributed across the entire frame. RGB Parade lets you view the red, green and blue channels separately.
False color overlays assigned colors on the image, helping you connect brightness levels to specific locations, such as a face or a window. A histogram collects the information into a graph, making it easy to see whether the image leans dark or bright, but it usually does not show which areas account for that distribution.
RGB Parade is useful when you need to check differences between color channels. The three tools complement one another; they are not three ways of displaying the same information.
Which tool should you enable before shooting?
Start with what matters most in the scene. For interviews, that is usually the face; for products, it could be the label, material or reflective details.
After setting your composition, use false color to check the subject and bright areas. Next, look at the histogram to assess the overall brightness distribution. Switch to RGB Parade only when you want to check color or suspect that a channel is exceeding its limit.
You do not need to keep every overlay on screen throughout the shoot. Once you have checked, return to the preview to monitor focus, expressions and movement. Measurement tools support your visual decisions; they do not replace them.
How do you read false color without making incorrect exposure adjustments?
First, check the color legend for the app or monitor you are using. Do not assume that a color always means the same thing across all tools.
Then compare the overlay colors with each area of the scene. If the face is in a dark range while the window is very bright, increasing exposure for the whole scene could cause the window to lose detail. In that case, adding light to the face or changing the camera angle usually makes more sense than simply raising ISO.
You should not apply a single fixed brightness target to every skin tone, lighting condition and visual style, either. False color helps you read the signal; the appropriate brightness level still depends on the subject and your shooting intent.
Does a histogram need to be centered for correct exposure?
No. A night scene may contain a lot of information on the dark side; a scene with a white background may be concentrated on the bright side. A centered histogram is not a universal standard for attractive or correctly exposed video.
What you need to watch is whether the distribution fits the scene, and whether the information near the edges relates to details you need to preserve. If the subject is dark while the background accounts for most of the graph, the overall histogram can lead you to misjudge the subject's brightness.
Read the histogram alongside the preview and clipping indicators. A single graph is not enough to determine the quality of the entire shot.
Can RGB Parade determine white balance accurately?
RGB Parade helps you check color balance, but it does not automatically provide the correct answer for every scene.
When you examine an area that should be neutral, differences between the channels may suggest a color cast. However, that area must actually be neutral under the lighting conditions you are shooting in. Colored walls, decorative lighting or mixed lighting can all make the assessment more difficult.
In particular, do not adjust all three channels to make them identical across the entire image. A scene with lots of greenery or red objects will naturally produce different distributions. Use a neutral reference object if available, then check again by eye and keep white balance consistent between consecutive shots.
Should you reduce exposure immediately when you see a clipping warning?
Not always. Clipping indicates that the signal has reached its limit in the area or channel the tool is monitoring, but how you respond depends on the content.
If the warning appears on a person's face, a product label or an object whose texture you need to preserve, adjust the lighting, camera angle or exposure. If it is a light bulb viewed directly or a small reflection, preserving every detail may not be necessary.
Distinguish between very bright areas and areas where information has been lost. Reducing exposure too much just to eliminate every warning can make the main subject hard to see. Prioritize details that matter to the story or to presenting the product.
Does shooting in Log make these tools harder to read?
It can, because a Log image usually looks flatter and has less contrast than an image converted for normal viewing. You need to know whether the tool is measuring the original signal or the signal after a display transform.
Do not take brightness levels from a guide for a different color profile and apply them blindly. If you are unsure how the app handles measurements, shoot a test scene with bright areas, dark areas and a subject, then check it in your editing software.
Do not choose Log just because you want your video to look professional, either. If you need to publish quickly and do not yet have a color-grading workflow, a profile that is easier to manage may be more suitable.
What should you check before shooting content in batches?
Shoot a test clip that includes all the main action, then open it in your editing software to check focus, color, and detail in bright and dark areas. Only then should you lock in the settings that need to stay consistent.
If a long video will be cut into multiple short clips, pay particular attention to brightness and color between clips, because errors are easy to spot when they are placed side by side in an edit. For projects that combine live-action footage with video generated with Google Flow, establish a consistent color style from the start rather than waiting until publication.
Only once your shooting workflow is stable should you assess editing hardware based on your actual workload. The article on choosing a Mac mini or Mac Studio based on your workflow is a relevant resource for this step. A more powerful editing computer cannot restore detail that was lost during recording.
Frequently asked questions
Does increasing iPhone screen brightness make the recorded video brighter?
Screen brightness mainly changes how you see the preview, not the camera's exposure settings. So do not increase or decrease exposure based solely on how the image looks when you change screen brightness.
Can an ND filter replace false color or a histogram?
No. An ND filter reduces the amount of light entering the camera, while false color and histograms help you assess the image signal. An ND filter can be useful in bright environments when you need to maintain a shutter speed that suits your shooting intent, but you still need to check exposure after fitting it.