You can build an AI video workflow by using an AI assistant to develop ideas, break them into scenes and write prompts, then enter suitable content into Google Flow to generate videos. However, you should not assume Flow has an area for building apps using natural language, or that it can build an app on its own to handle the entire workflow.
The approach below clearly separates content preparation, scene generation and post-production, helping you control the results rather than rely on the promise of “one button to create everything.”
1. Define Your Inputs Before Creating a Video
Open Google Flow, sign in and check the access permissions, features and usage limits shown in your account. If the interface allows it, create a new project to manage your content.
Before generating scenes, note down:
The goal: advertising, a product introduction or storytelling.
The target audience and main message.
The visual style and desired aspect ratio.
The total duration and planned number of scenes.
The language of the dialogue or narration.
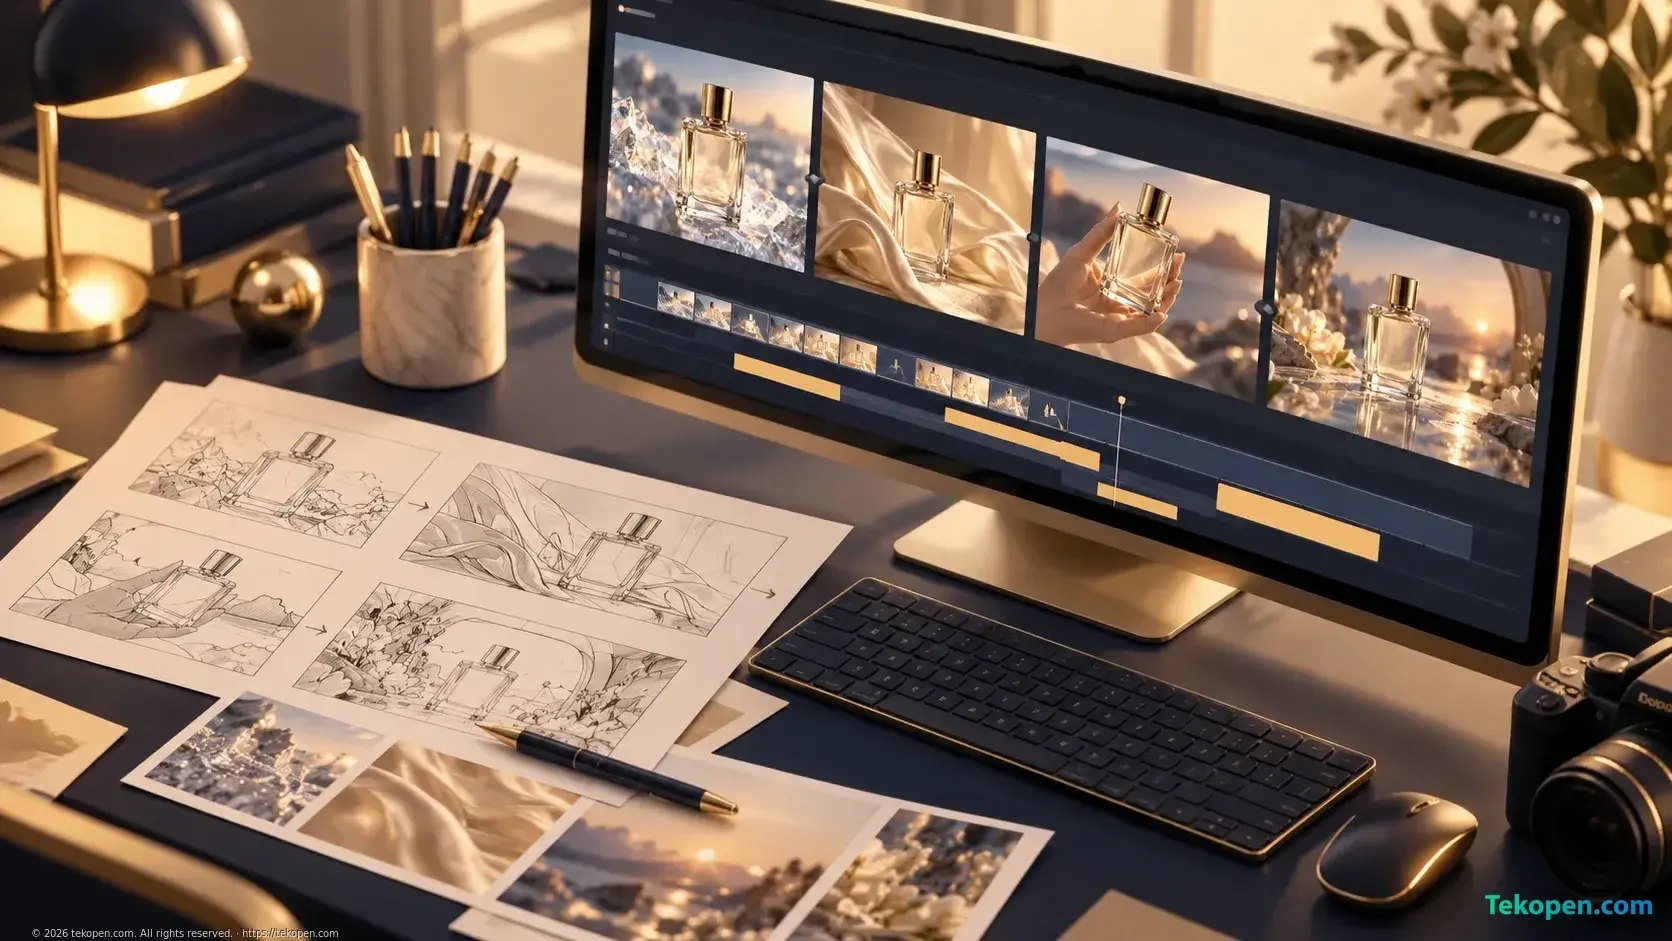
For example: “A video introducing a perfume for women, with a luxurious style, vertical framing, about 20 seconds long, consisting of four scenes.” This is a creative brief, not a guarantee that the tool will support every specification.
2. Use an AI Assistant to Develop the Script
You can prepare the script using a separate AI assistant. If you have not chosen a tool yet, see how to choose between ChatGPT and Claude.
Use this sample request:
Develop the following idea into a video script about 20 seconds long, consisting of four scenes. For each scene, specify the planned duration, purpose, main action, visual description and suggested audio. Do not add product benefits or advertising claims that have not been provided.
Review the script before generating visuals. Each scene should have a clear main action; too many developments will be difficult to control.
3. Create Consistent Profiles for Products and Characters
Prepare a shared description covering the product’s shape, colors and materials, as well as clothing, hairstyles and setting. Repeat important details in each scene’s prompt.
If the available features support reference images, use materials you have permission to use. Consistent descriptions can reduce discrepancies, but do not guarantee that characters or packaging will look exactly the same across generations.
For advertising, add accurate logos and text during post-production rather than relying on AI-generated imagery.
4. Write a Separate Prompt for Each Scene
A useful prompt includes: the subject, action, setting, camera angle, camera movement, lighting and style. List audio requirements separately so you can check them against the capabilities of the mode you are using.
An example for the opening scene:
A close-up of a clear glass perfume bottle with a gold-colored metal cap, placed on a light-colored stone surface. The camera slowly moves toward the product. Soft lighting from the left creates subtle reflections on the bottle. Cinematic advertising style, minimalist composition, no text in the image.
Keep the prompt focused on one main movement. If the result deviates from your intent, adjust one element at a time rather than replacing the entire description.
5. Generate a Test Scene, Then Review It
Enter the prompt into the appropriate video generation area in Flow. Check the available options and expected usage before running it.
Prioritize testing the most important scene. When reviewing the result, check the product’s shape, movement, visual errors and alignment with the script. Regenerate only scenes that fall short; save the prompt alongside the selected version for easy comparison.
The habit of reviewing outputs is also covered in the guide to using AI at work.
6. Assemble the Video and Identify What to Automate
Assemble the selected clips in a suitable editing tool, then add voice-over, music you have permission to use, subtitles and product information.
If you want your own app with a “Generate All Scenes” button, you need an app-building tool and a supported integration method. An interface button does not automatically create a connection to Flow. Check the integration documentation before implementation and add a confirmation step before any action that incurs a cost, following the principle of determining when an AI agent needs to ask permission.
Conclusion
The practical workflow is: idea → script → scene breakdown → prompts → test generation → review → post-production. Getting each step right first will help you identify exactly which parts are worth automating.
Frequently Asked Questions
Can you create a video-making app directly in Google Flow using only a description?
You should not treat that as a built-in feature. Check the actual functionality available in your account and the product documentation. Building an app interface and connecting a video generation service are two different tasks.
How can you reduce changes in a product’s shape between scenes?
Use a fixed descriptive profile and reference images if the mode you are using supports them. Prioritize simple scenes, review each result and discard clips with incorrect details. For packaging that requires high accuracy, consider incorporating footage of the actual product.
Should you generate all the scenes on the first attempt?
Test one representative scene first to assess the style and how closely it follows your requirements. After adjusting the prompt, move on to the remaining scenes to limit unnecessary generations.
Does the duration in the script match the length of the clip Flow generates?
Not necessarily. The script duration is an editing target; clip length depends on the mode and supported options. You may need to trim or combine clips during post-production.
Related Articles
Further Reading
What Is Trello? How to Create Your First Task Management Board
What Is CRM? Features and How to Choose One for Your Business
Final Cut Camera 2.4: More Control over Your Video Recording Workflow
OpenAI Announces an Unauthorized AI Reasoning Extraction Campaign
AI Grocery Shopping: How Does Safeway in ChatGPT Help You Shop?
OpenAI and America’s SBDC Expand AI Training for Small Businesses